

Springtime Tips to Prep Your Kit for this Summer's Adventures
Spring is here, you can feel it in the air. The morning chorus of bird song is stunning. The sun is shining, the snow is melting (maybe?), and you are itching to get back on the trail.
It’s easy to just pack your bag and head out the door without sparing a second thought for how your gear weathered the winter. But taking an afternoon before your first trip to check over your equipment is well worth it. By getting it back into working order you can provide yourself the best chance for a fun and successful trip.
Here are some steps you can follow to make sure your gear is in its best working condition. (Spoiler Alert: a lot of it involves washing.)
Rain Gear
Let’s face it — do you really even know when the last time you re-waterproofed your rain gear? Spring is the perfect time to take care of this crucial part of maintenance, especially since you are more than likely to get caught in a spring shower.
Rain gear often has a two part system working to keep you dry. These layers consist of a waterproof and (hopefully) breathable membrane, with a DWR or durable water repellant coating added to the fabric to create the waterproof layer.
The first step to re-waterproofing your gear is to wash it according to the manufacturer’s directions. Dirt and oil can clog the pores in the membrane of your gear which causes it to no longer be breathable, and you need a clean surface to reapply the DWR coating.
I like to use Nikwax Tech Wash® when I am washing and treating my gear. You can also use a spray on DWR like Nikwax's TX.Direct® Spray-On which allows you to control where you are actually treating on your jacket. I recommend focusing on high wear areas such as your shoulders, under your hip belt, and the back of your jacket.
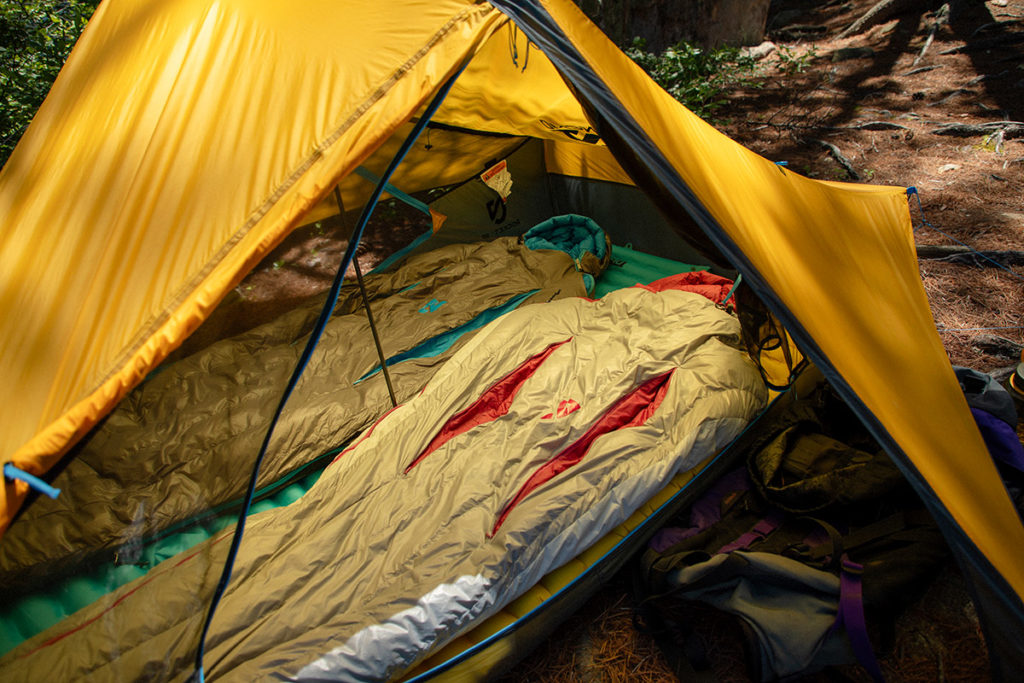 For longterm storage, it's better to keep down bags uncompressed. For best performance, give down some time to fluff back up at home before heading out onto the trail.
Sleeping Bags
While most people know that it is not ideal to store a down sleeping bag compressed, some folks may not be aware of this storing precaution, or simply have no option due to available storage space. If your sleeping bag has spent a season squished into a stuff sack or if you want to give it some TLC, you can follow these steps to help bring it back to its lofty and warm self.
Down works by trapping the warm air you create and loses its insulating abilities when it is compressed and clumped. It also suffers if your bag has not been washed in a long time, as the dirt and oil from your skin can be absorbed by the down and cause it to clump further.
I like to wash mine using Nikwax Down Wash, but any comparable product should work just fine! I follow the instructions on the bottle as each product has different instructions — but one thing always shines through: find a front-loading machine! Top-loading machines with agitators can snag and tear seams on your bag. To dry my bag, I put it on low in the dryer with a few tennis balls. The balls help break up any down clusters that may have formed, and the low heat ensures I don’t damage the shell fabric of the sleeping bag.
 A touch up of cleaning and a quick waterproof treatment can make all the difference when a drenching summer shower hits your area.
Tents
Think back to the last trip you took with your tent. Did you give it time to fully dry before packing it up? If the answer is "no" then you may have a damp and smelly tent to look forward to on your first trip of the season. Fear not! There are ways to get rid of the smell — or mold if things have progressed that far.
My advice is simple. Hand wash your tent and avoid washing machines like the plague. These can damage or even destroy your tent. And don’t even think about using the dryer. I like to pitch my tent since it is easier to identify problem areas and wash them while it is taut. I will often use another specialty product like the Nikwax Tent & Gear Solarwash. After you have sufficiently cleaned and scrubbed your tent, let it air dry in indirect sunlight. The sunlight will help to kill smelly bacteria, and the airflow will help carry away any odors that may have persisted through the cleaning.
If during your cleaning you notice some runs or holes in the mesh of your tent, now is an excellent time to address them! To fix a mesh run lay your tent on a flat surface and rub the mesh with your thumb back and forth, this will close the run and prevent a hole later down the road. If you noticed a hole, there’s an easy solution for those as well! Tear-Aid patches like the ones included in our pad repair kits make excellent fixes for mesh holes. I like to put a patch on both sides of the mesh so that it doesn’t stick to anything unexpectedly.
For any holes too large to patch, NEMO offers a professional repair service. Just fill out the repair form here and our customer service team will be sure to take care of you.
Sometimes zippers can get dirty and start to jam. For this, there is actually a pretty easy fix. The first step is to try to unzip the zipper fully. But if it is totally stuck don’t try to force it. This could break off teeth and mean you need the whole zipper track replaced. Try using some paraffin wax or beeswax to get your zipper unstuck. You can then use a toothbrush and some water to gently clean your zipper tracks — often the water will dissolve whatever is causing the jam. If that doesn’t work I recommend this commercial zipper cleaner product from Gear Aid. This will clean and lubricate your zipper track at the same time.
 Keeping pads and pumps free of leaks will ensure you are not sleeping on the ground during that trip you've been planning for weeks.
Sleeping Pads
There’s nothing worse than arriving at your campsite to find that you have a hole in your super-plush sleeping pad. Fifteen minutes of effort at home can save your hours of sleeping on the cold, hard ground. Here in the warranty department we have fine-tuned our process for finding holes in pads without submerging them in water. Here's the process outlined below:
- Inflate your pad so that it is as firm as it can safely be.
- Put a weight on your pad and leave it overnight. If it deflates, follow the next steps.
- Hold your pad in front of your face and apply pressure. Trust us, it works.
- Slowly move your pad back and forth in front of your face, feeling and listening for any leaks the pad might have.
- Once you identify the leak, circle it with a Sharpie™ and begin the patching process.
- Coat the leak with a layer of seam grip and let it cure overnight, then apply a Tear-Aid patch.
- Re-inflate your pad and place a weight on it again overnight. If it holds, you're good to go.
Permethrin
If you'll be adventuring in an area where you'll experience biting insects such as mosquitos, ticks, and black flies, spring is a great time to reapply any insect repellent to your gear. While products such as Permethrin work great at keeping the bugs away, it is best to avoid using it with any DWR coated gear. Permethrin is known to degrade DWR coatings and cause a loss of water repellency. Always remember to follow the manufactures instructions for treatments.
If you prefer not to use DEET products, there are a range of natural repellents on the market. My advice is to try a few and find the one that works best for your area.
Stoves
While some stoves are easier to maintain than others, it’s never a bad idea to perform some tune-ups before you head into the field — especially when you are literally playing with fire. Canister stoves usually only need a quick rinse to remove any built up dirt or carbon. It’s also not a bad idea to check the seals and O-rings on these stoves.
A friend once told me that liquid-fuel stoves can be fixed with a rock ... and while I’ve never seen it done, I definitely believe him. You can give these types of stoves a more thorough cleaning to get them field ready. Replace any parts that you feel have questionable functionality or longevity. Just remember to follow the manufacture instructions as failing to reassemble these items correctly can lead to some potentially hazardous conditions!
The key to success is being prepared! A couple hours before your trip will save you from a lot of misery on the trail ... and keep you safe. Let us know if you need any advice with prepping you kit by emailing us at Journey@nemoequipment.com. We would love to hear from you and help whenever we can!
Travis Gagliano is one of NEMO's Customer Service Pros who loves helping customers and repairing their gear so it can last for a lifetime. Former Flatlander turned New England Transplant, Travis is an adventure enthusiast, budding fly fisherman, and lover of trails and gear.