Easy Fix: Grommet Needs Replacing
All NEMO products are covered by our Lifetime Warranty and we’re happy to help repair your gear, but when the fresh air’s calling, sometimes you just can’t wait — that’s where this easy DIY fix comes in.
Grommets can become loose over time and fall out of their webbing. Luckily, this repair is something you can do at home!

Tools & Materials Needed:
- Pair of wire snips
- Stainless steel size 1C grommet
- Grommet setter (available at retailers like Seattle Fabrics)
The Fix:
-
Using wire snips, pull up the edges of the old grommet and twist inward to remove. You may need to cut parts of the old grommet to fully remove it.
-
Grommets have two sides — one that looks like a ring, and one that looks like a top hat. Fit the top hat piece through the fabric hole.
-
Place both on top of the grommet setter, top hat piece underneath, and cover the top of the fabric with the ring piece.
-
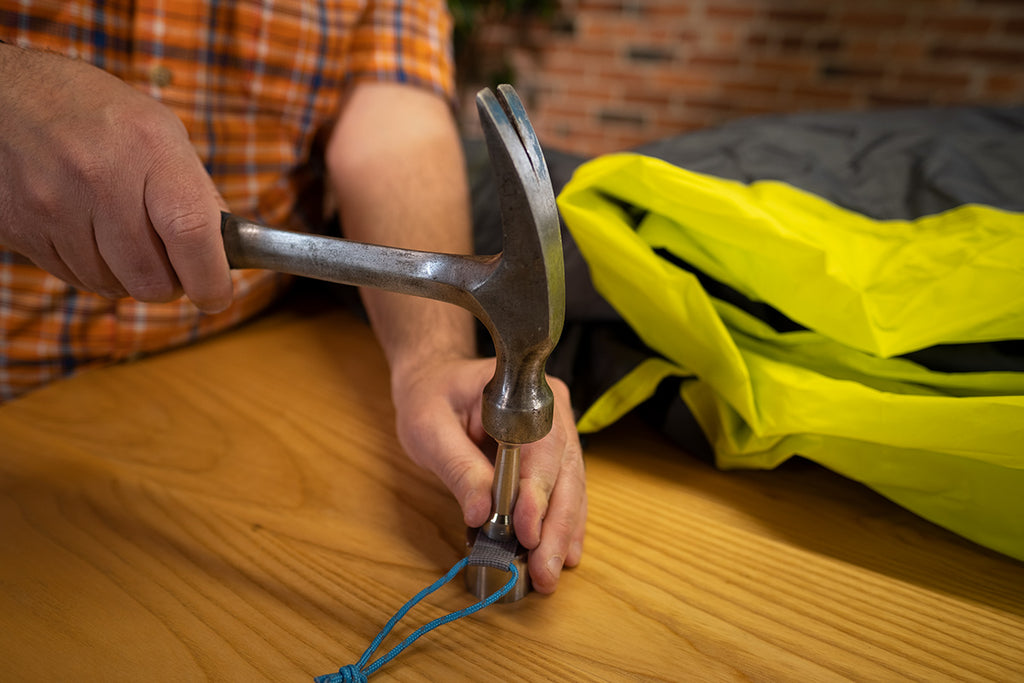
Insert the punch and, using a hammer, hit the top of the punch to set the grommet.
-
Remove the punch and inspect the grommet to make sure it isn’t cracked and is secure.
 Pull up the edges of the old grommet and twist inward to remove.
 Line the top hat shaped grommet with the fabric hole.
 Place webbing with top hat oriented touching the grommet setter. Place ring piece on top, as pictured here.
 Insert punch.
 Using a hammer, hit the top of the punch to set the grommet.
 Inspect grommet to make sure it's secure and not cracked. Repeat setting process for any remaining grommets.
If you still need help, don't hesitate to contact our Customer Service team for further assistance! For more DIY repairs, check out the list our Warranty Manager and repair expert, Andrew Baxley, put together here.
